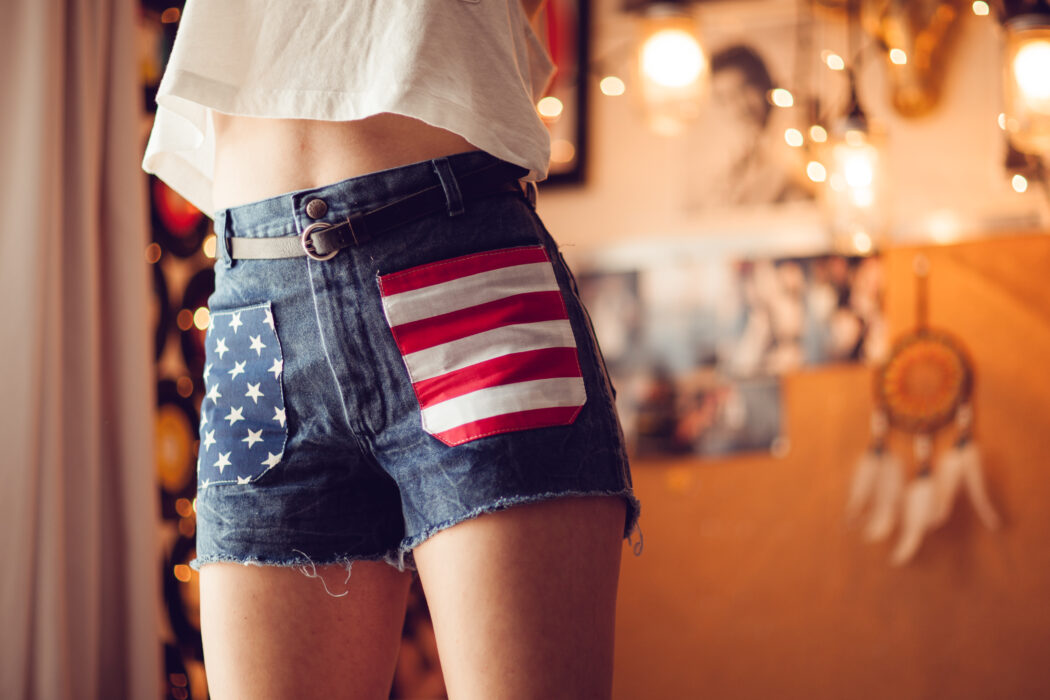
This is a fresh, DIY American twist on the classic denim shorts, inspired by a post on Free People’s blog. In six easy steps you have the perfect pair of ‘Merica shorts. Just wait until the paint is dry before you slip into them. Happy crafting!
1. Pick the right pair of shorts. Don’t pick your favorite pair of shorts on your first try, just in case you mess up.
2. Buy the necessary supplies: blue paint- er’s tape, red and white fabric stencil spray paint, foam paint brushes, a star stencil and a piece of scrap cardboard. All of these can be found at the Walmart.
3. Slip the cardboard in between the pant legs to create a solid base for painting.
4. Using the white paint, paint the stars on the front left side of the shorts. Painting with the star stencil is tricky, so use dou- ble-sided tape to adhere the stencil to the shorts before you start.
5. After you stencil paint the stars, remove the stencils and make small touch-ups by hand to perfect the shape.
6. Paint the stripes using the red paint. Tape your painter’s tape in vertical strips down the front right side of the shorts. We used five different strips of tape, all vary- ing lengths depending on where they were located on the shorts. Paint in between the strips of tape. Remove tape.
Editor’s note: Image featured is not the same as the steps listed below.
A version of this article was originally published in the Spring 2014 issue of Valley Magazine.


Megan Wesley liked this on Facebook.