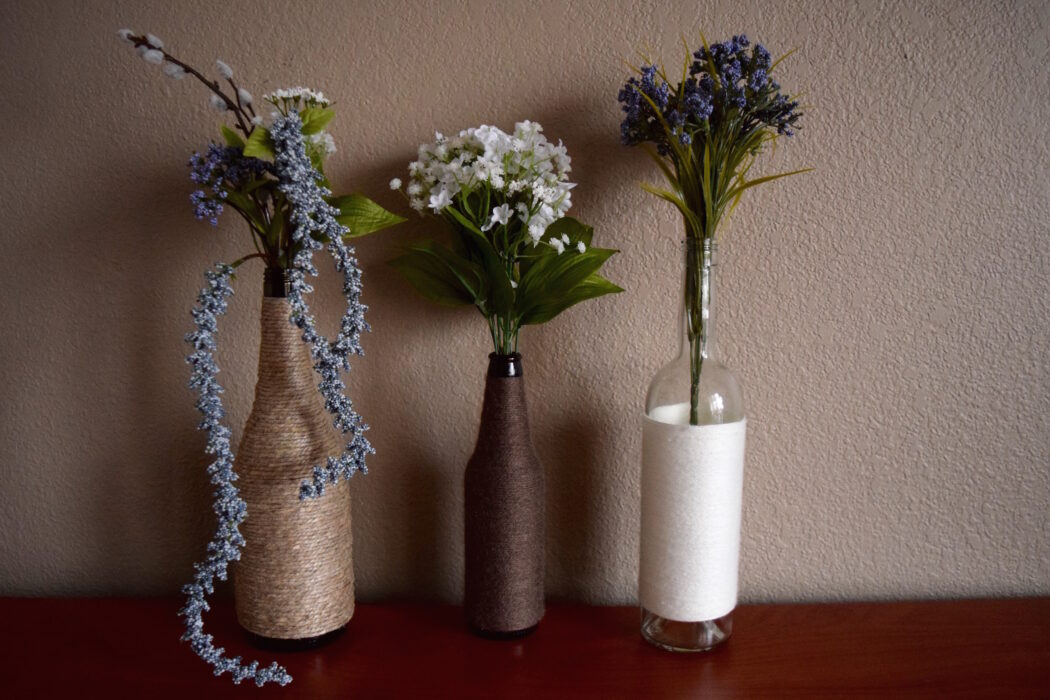
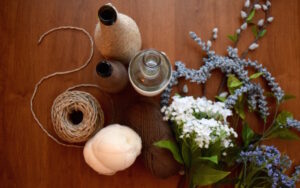
If you are looking for a way to kill time on a chilly afternoon (and clean up all the empty bottles in your apartment), these simple vases are the answer to your prayers. All you need to create this craft are some empty bottles, string or twine, and scissors. For the absolute best results, you can use a hot glue gun as well. Follow these easy steps to create your own recycled masterpiece!
Prep the Bottles
For this craft you can use any empty glass bottle. We started off with a beer bottle and two wine bottles for an interesting contrast in heights. First, discard all lids and corks. Then, carefully remove any foil wrappings from the wine bottles. You may need to use a foil cutter for this step. Next, wash the bottles in warm soap and water to make sure they’re clean. Finally, peel off any stickers or labels. The easiest way to remove a label is to soak the bottle for 30 seconds to a minute in warm soapy water, then peel away.
Wrap with String
Once the bottles are clean and dry, it’s time to add the string. Start at the top of the bottle and wrap the string around once, tightly. Tie a double knot to secure the first loop. Don’t worry about the extra string from the knot. It will get covered up as you loop along and keep the first knot from unraveling.
After securing your knot, start wrapping your string or twine around the bottle, keeping it tight against the glass. It’s important that you use even tension and don’t leave any gaps between loops, and be careful not to overlap the string as you loop it around.
You can keep things simple and just wrap the middle section of the bottle with string, or if you’re feeling ambitious, you can wrap the whole bottle from top to bottom. If you’re going to wrap the entire bottle, you may need to use some dots of hot glue to keep the thread from sliding up as you wind around the curved neck of the bottle. We recommend placing a dot every inch or so as you wrap.
Whichever way you decide to wrap your vase, the end is quite simple. On your last loop, tie a knot around the bottle like you did at the start. Trim the string so there’s about an inch left after the knot. Then, tuck the loose end under the previous loops to keep the knot from unraveling.
Finishing Touches
Almost finished! Now that your vases are decorated, it’s time to fill them. Insert whichever combination of flowers you desire. Just make sure to trim the stems so that the blossoms aren’t sticking too far out of the bottle. We used plastic flowers from the craft store for our vases, but if you plan on using real flowers, make sure to add a few inches of water to your vase before inserting the stems.
There you have it — the perfect craft to recycle some bottles and bring a hint of Spring into your home. Let us know how your vases turn out in the comments section below!


Tanner Michael Orndorff liked this on Facebook.
Anna James liked this on Facebook.
Kate Perkins liked this on Facebook.
Megan Wesley liked this on Facebook.
Allison Seguinot liked this on Facebook.