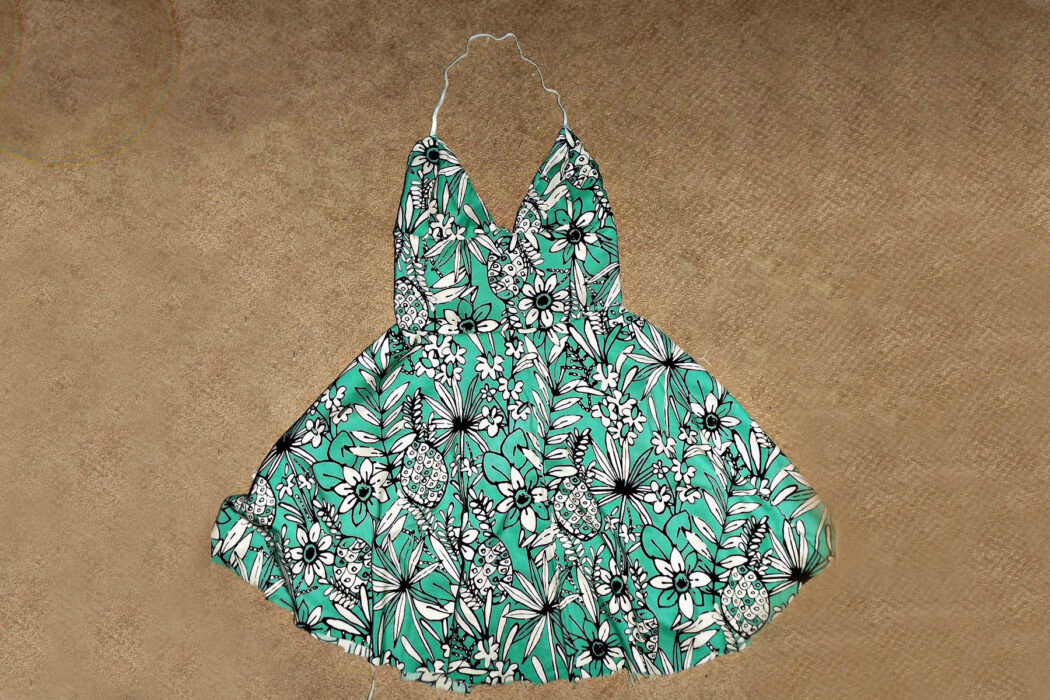
Make your own dress? Are we crazy? Nope. Let Valley show you how you can make the perfect Spring Break dress!
What you need
2 (or 3 to be safe) yards of fabric
Pins
Scissors
Sewing Machine
Thread
Marker or chalk
Tape measure
Zipper
Elastic
What to do
First thing’s first – you’re going to want to measure your waist. A lot of the dress is going to revolve around this measurement.
We are going to make the skirt of the dress first. You want to fold the fabric in half the long-way and measure about 60 inches and cut. Now fold the fabric along the 60-inch-line and find the corner where there are no edges. This is where you will be making your hole for your waist. Take your waist measurement and divide it by 4 1/2. This will tell you how big to make the hole for your waist. Measure at the corner and cut. Be sure to leave a little extra fabric for sewing. Next you’ll have to decide the length of your skirt – the longest you can make it will be about 19 inches. 17 inches is a normal length skirt.
Measure from the waist of your skirt, and you should get a shape like this when you cut.
Next we are going to make the top. You might want some newspaper for this part. You will create two shapes like these. These are going to be sewn together at the curved edges to create a cup for your breast, so make sure these are the right size!
You can eyeball it or take out a bra and lay your newspaper cut outs on top so you can see how it’ll fit. You’ll want to cut out pieces using these newspaper cut-outs. Then you will flip the newspaper cut outs and use the backside of them to create the other cup. Be sure to flip them over – it would be like putting on two left shoes if you don’t! Then you’ll want to pin each pair together at the curved edges and put the good side of the fabric facing each other. Sew each pair at the curved edge and finish the two sides (you don’t have to do the bottom side) so it looks clean.
Now you’ll want to measure from the very bottom of your chest to where you would like your skirt to start. This measurement will help you create a waistband. Take that measurement and your waist measurement and cut a rectangle based off those. You now have all your pieces cut out!
Now you’ll want to take your rectangle and sew one edge so it’s clean and finished. Then you can take the cups you made earlier, find the center of the rectangle and place the cups (good-side of fabric facing good-side) and pin. You can then sew the cups onto the waistband once they have been placed where they should be.
You’ll want to take your skirt and cut down one side of it to create and opening. This will help the waistband match with the skirt for attaching the zipper later. Take your waistband, and put the good-side of the fabric facing the good-side of the skirt’s fabric and work your way around pinning the waistband to the waist of the skirt. Have the opening of the skirt meet with the opening of the waistband. You can then sew the skirt and waistband together.
Attaching the zipper may be the trickiest part, but you’re almost done making your dress! So you’ll want to take the fabric at the opening of the waistband and skirt, and fold the edge over so it looks clean and begin pinning the opening to each side of the zipper. Sew on the zipper and then from the inside, sew the rest of the skirt back together.
Take your elastic and figure out how much you will need for your halter strap by beginning at the top of one breast to around the back of your neck to the top of the other. Cut and sew to the tops of the cups of the dress.
All you have to do now is finish the bottom of your skirt!
See? Told you we could teach you how to make a dress! It’s perfect for spring break and will carry you right into summer!


